Towards the end of the summer we were inspired by this DIY project and decided to take a swing at creating our own version.
We had two main problems with our four-legged best friends that we hoped to solve.
- The “big one” was using a narrow strip of dirt on the side of the house that she hated and actively avoided for a variety of reasons
- The “little one” was going all over the place which made cleanup an inconvenient chore
Materials
Based on the original blog post referenced above and some additional reading on how other people approached the project, I settled on the following supplies. Location purchased aren’t necessarily accurate, these are meant as references to help with your project:
- Pressure treated 2x6 lumber (x3 = $30)
- Three inch outdoor treated wood screws ($9)
- Charcoal fiberglass screen ($20)
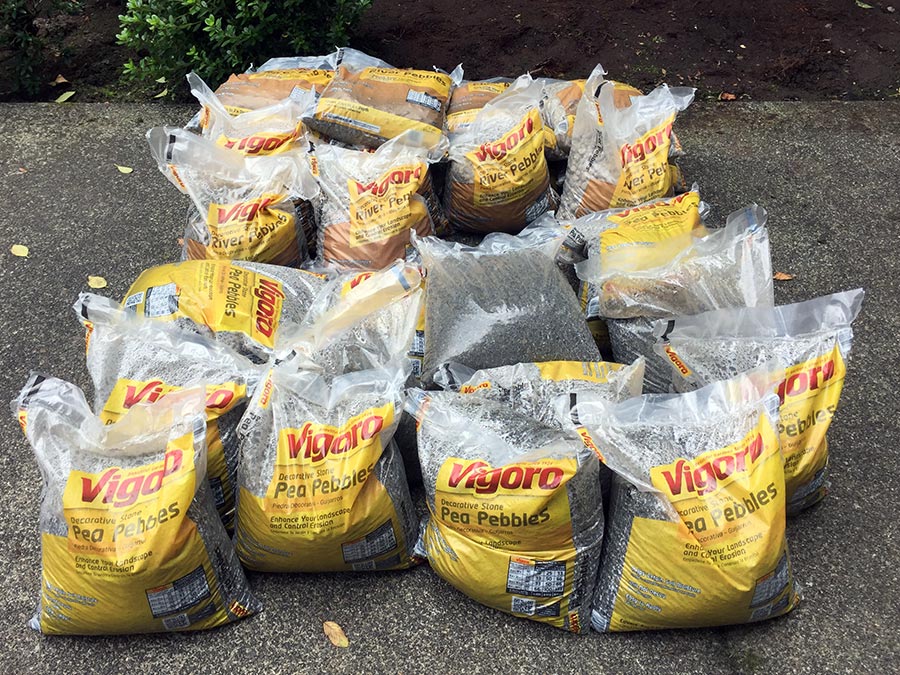
- River pebbles for the bottom layer (16 bags, 8 cubic feet = $72)
- Pea pebbles for the top layer (16 bags, 8 cubic feet = $60)
Delivery charge was $79 and sales tax around $30.
Total cost: $300. Depending on the size of your dog(s), you could get away with less material. In our case we have:
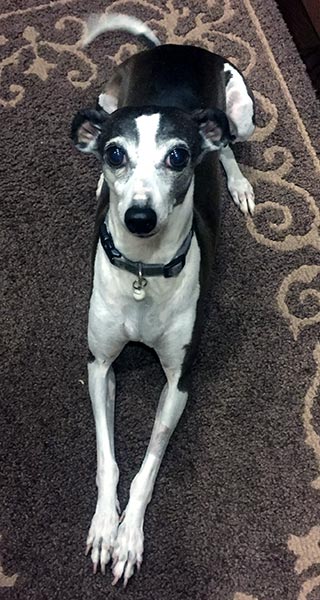
- (1) Italian Greyhound ~18 pounds
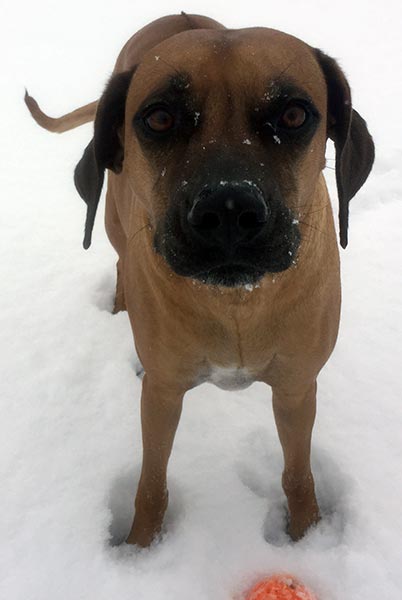
- (1) Rhodesian Ridgeback ~80 pounds
With a smaller box you could get away with a lot less rock and maybe even go with just one layer.
You could also pick up the materials and save on delivery. I chose to have them brought to our house to make things easier. Fair warning though, it took me almost an hour to lug these bags from the palette they dropped of at the front of the house to the back yard. It was a great workout :)
Location and size
The first order of business was deciding where to put the box and how big it would be. I settled on 10 feet by 5 feet which ended up being convenient since our neighborhood lumber yard was selling 2x6’s in 10 foot lengths. This meant buying 3 pieces and splitting one in half.
Location was difficult because our back yard has a lot of slope and not a ton of space to maneuver. The initial idea was to remove a tree that sits on top of the area we decided on. Luckily as we were scheduling removal it occurred to me that we could leave the tree and have it sit inside the box.
This turned out to be a great call since the tree provides a little bit of shelter for them in the rain. Important for Seattle dogs!
Step 1: Clearing the area
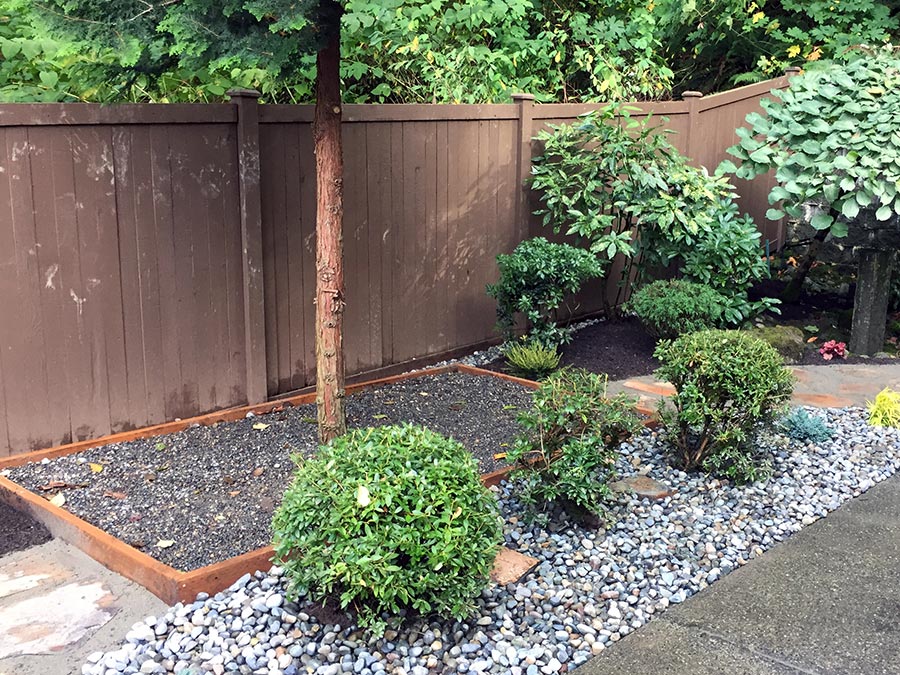
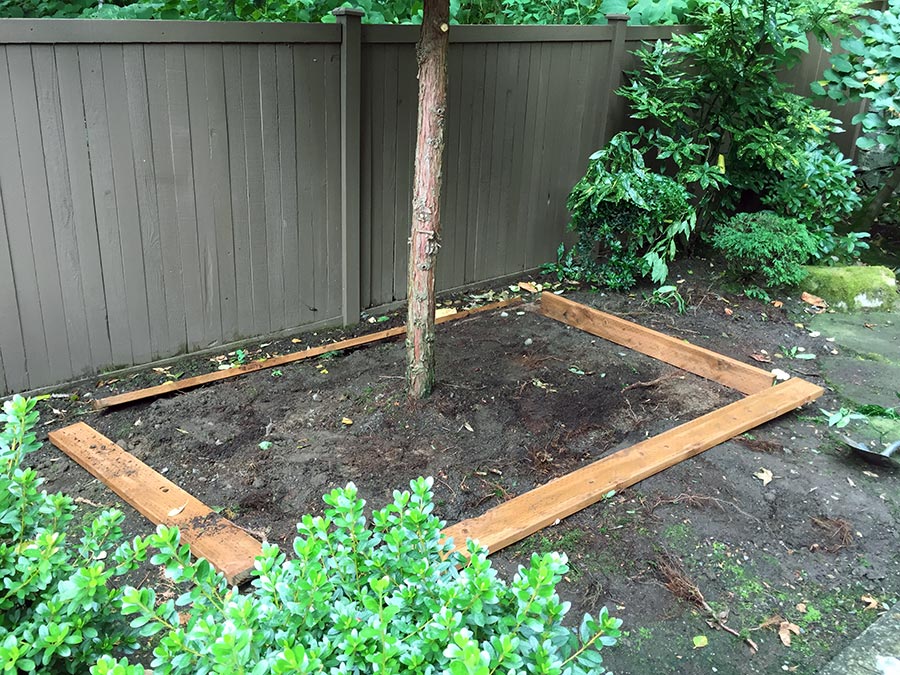
We had an abundance of small plants in the way - we had already decided we’d just remove them rather than try to re-plant. The yard already had too many. Here’s what it looked like before we started (note the tree in the middle will be left intact):

Step 2: Level and layout
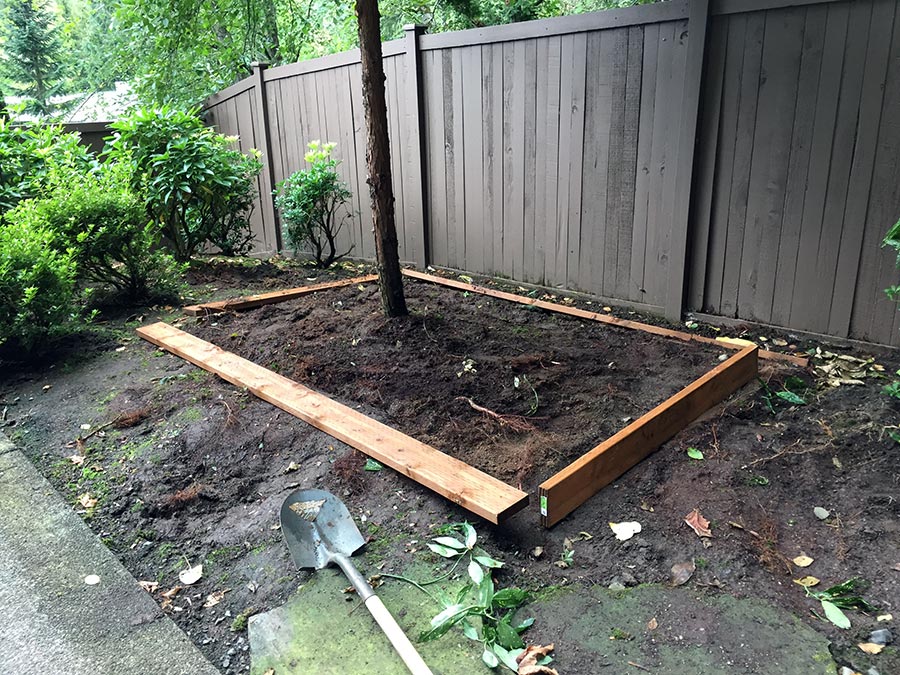
Once I knew approximately where the box would go it was time to level out the area. To be honest, this was the toughest part of the project. The yard was sloped in two directions from the center and there were a few nasty tree roots to deal with. Here’s the area cleaned up and being leveled. I also trimmed up the bottom of the tree so the humans could more easily walk through the area.
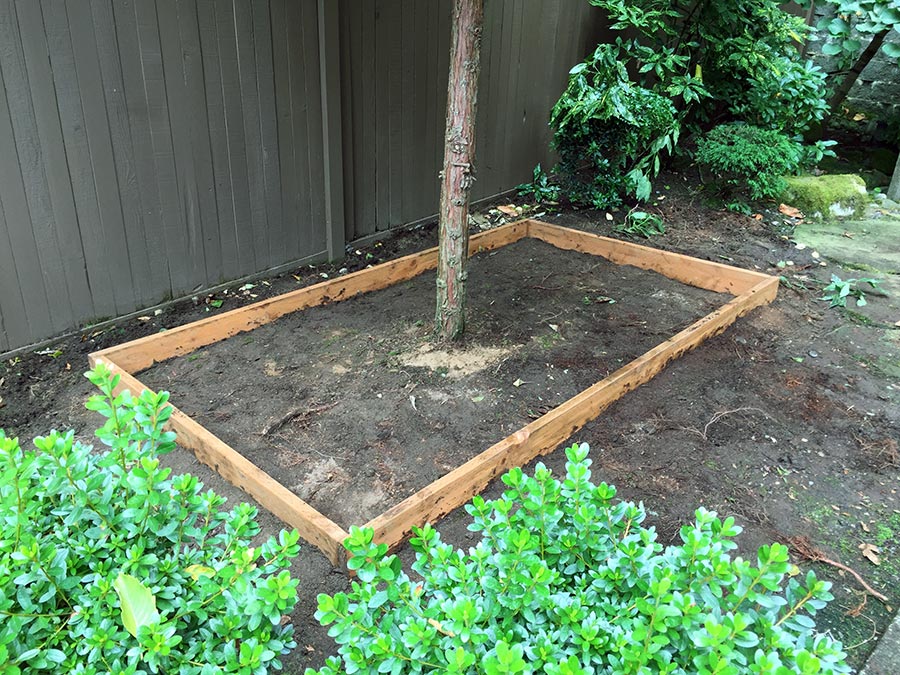
Here is a view from the other side. Dirt was moved from the area closer to the camera here to the far side of the tree. This step took about two hours.
Step 3: Box assembly
Once the ground was level and I was sure about the location, I screwed the 2x6’s together using 3” screws. When I described the project to my local lumber guy I was surprised that he didn’t suggest longer screws. It turns out the wood is more likely to split and the box generally more rigid (and possibly fragile) the longer they get.
Here is the box, ready to start laying down the first layer of gravel -
Step 4: First layer of screen
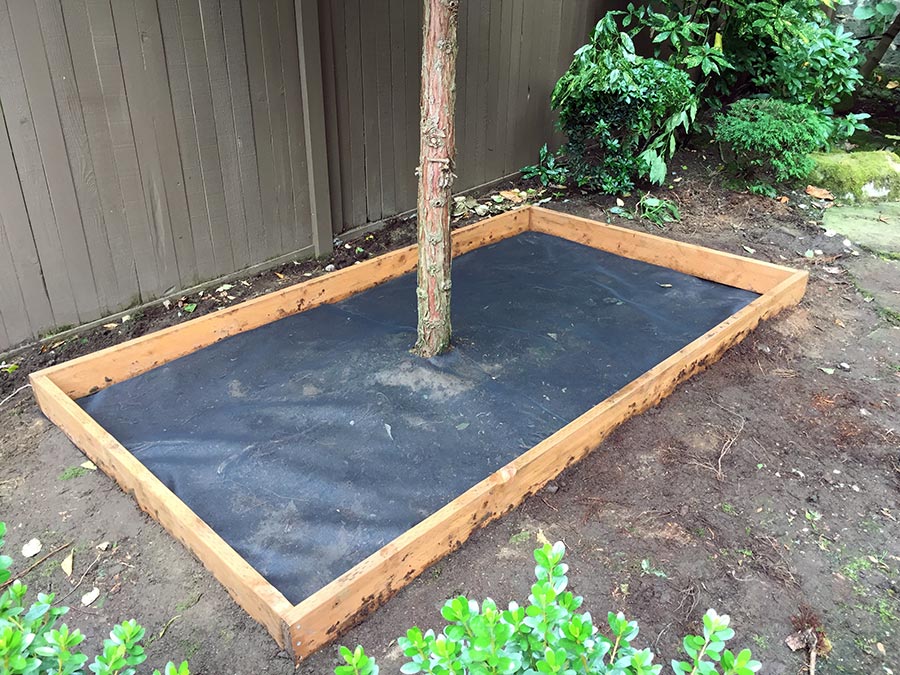
The screen material in the first layer helps reduce weeds or plants that try to grow up through the gravel. It’s also a nice stabilizer for the rocks and would make removal (should that ever be necessary) easier.
I cut two pieces of screen to allow screen slack under the box to hold it in place. I also cut out a slit/hole for the tree so everything would lay down evenly.
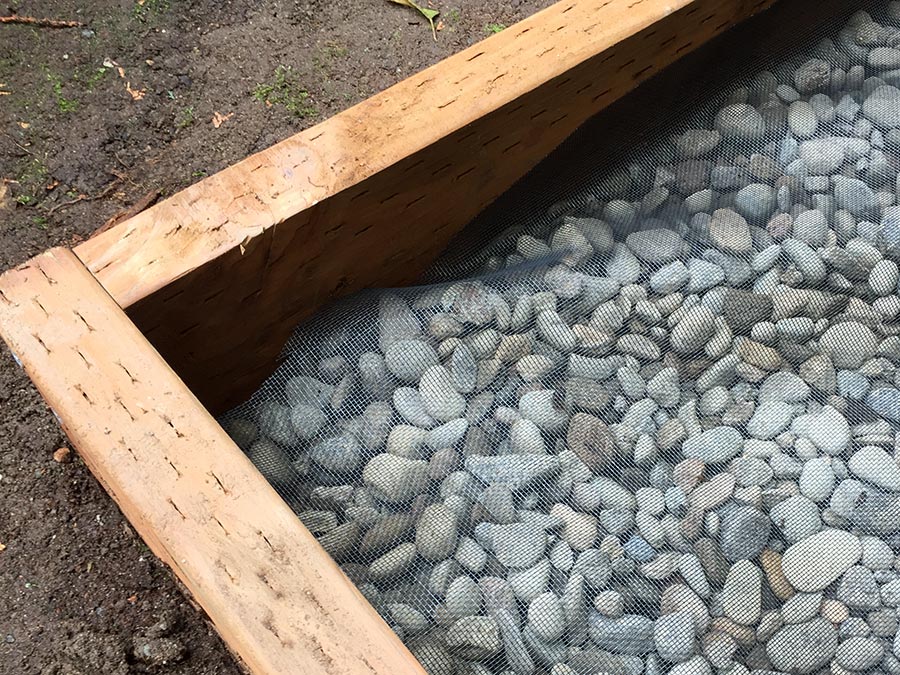
Step 5: First layer of rock
Time to lay down the river pebbles - the larger of the two. These allow awesome drainage but are a little tougher for the dogs to walk across - so we use them for the bottom layer.
Here is a close up of the first bag dumped out. This picture gives a good idea how deep the box is, and how small of an area a single bag of rocks covers.
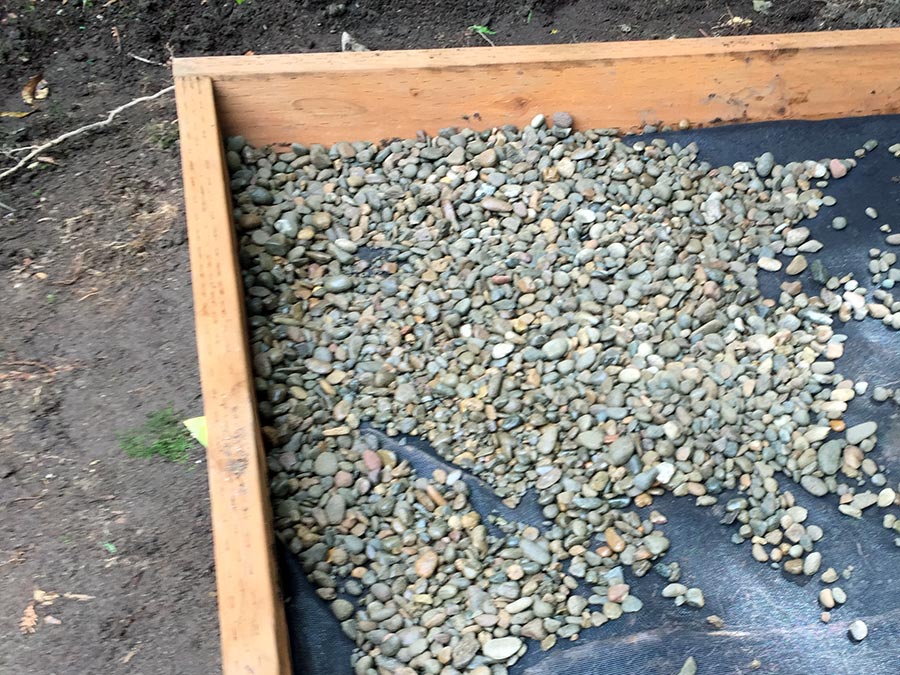
Once all the bags are empty, we have a clean 1.5 inch layer of river pebbles -
Step 6: Second screen layer
We plan to use this for 20+ years so it made sense to drop another layer of screen down before the smaller pebbles. Over time the rocks would mix and we’d rather have the small pebbles remain on the top layer.
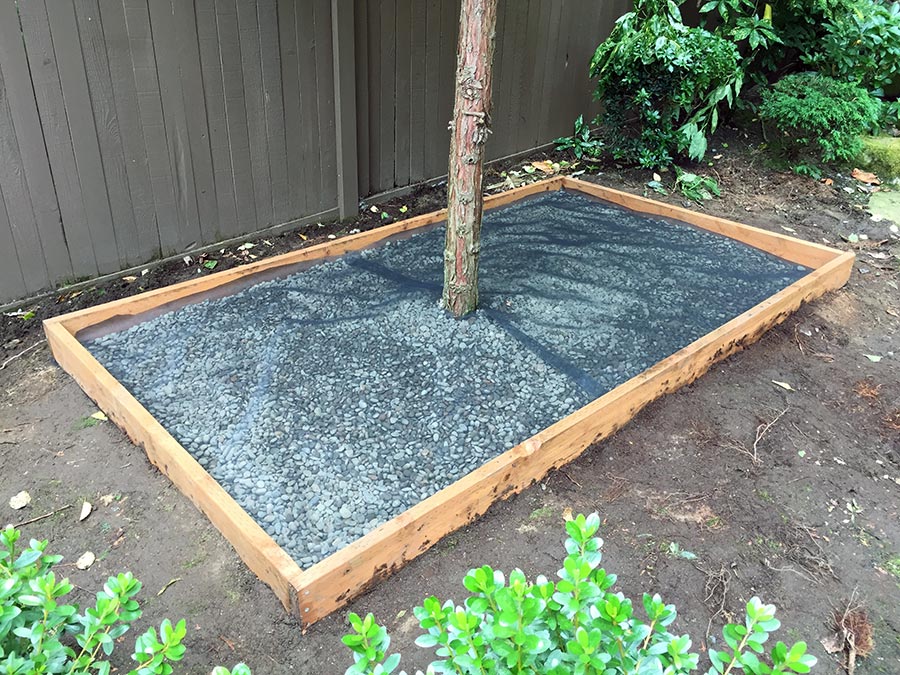
Same process as before, cut two pieces and a little slit/hole for the tree. Here’s a closeup of the tree area -
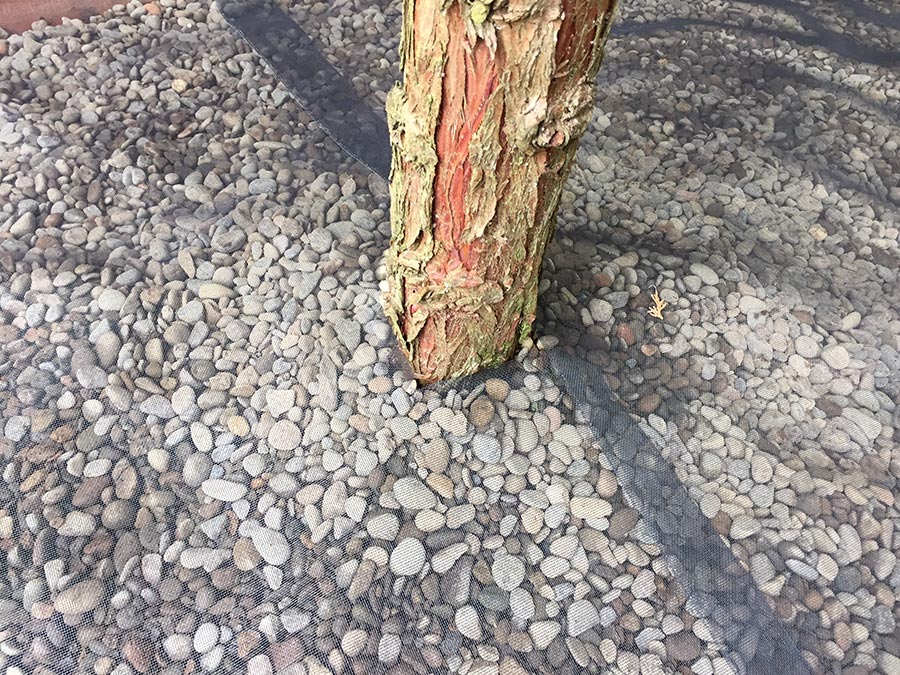
And another closeup of a corner showing the space left for the rest of the rock -
Step 7: Second layer of rock
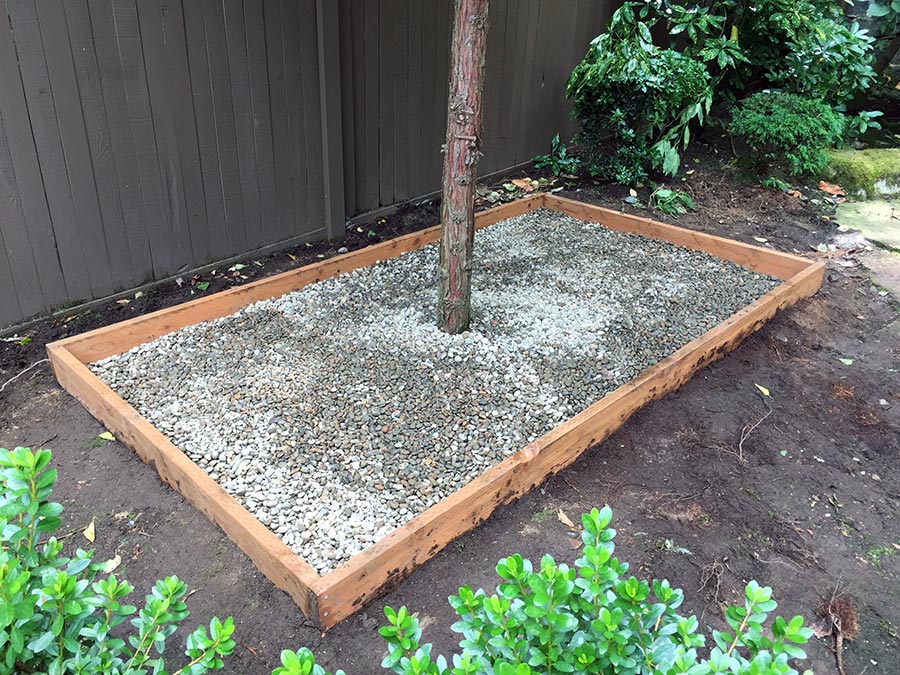
Almost home! Now for the pea pebbles which are slightly larger than gravel. These ended up being almost too small for the big dog. At first she didn’t like the instability compared to solid ground but got used to it eventually. If I did the project again I might go one size larger on this layer.
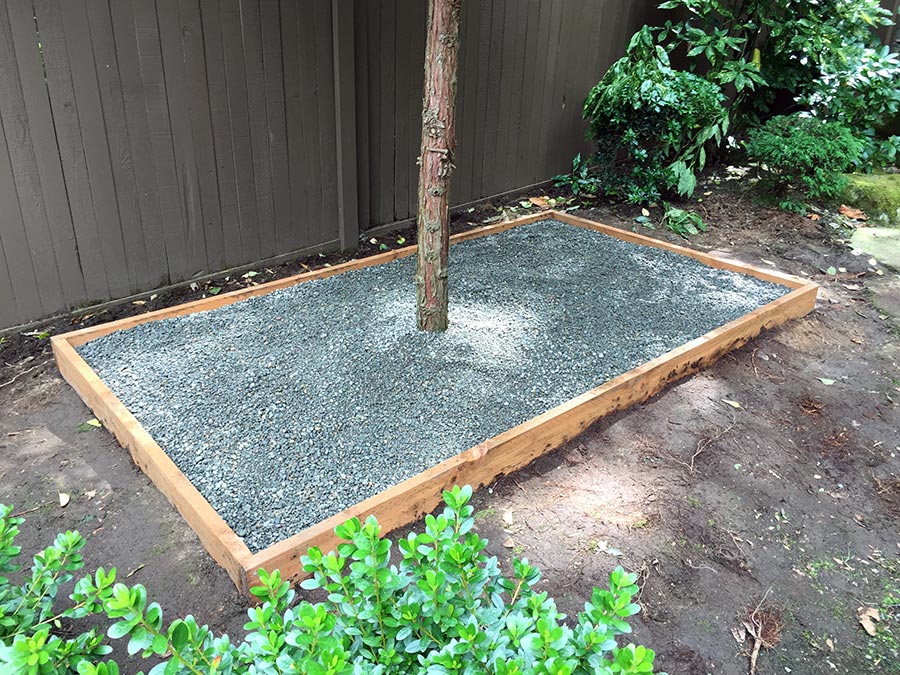
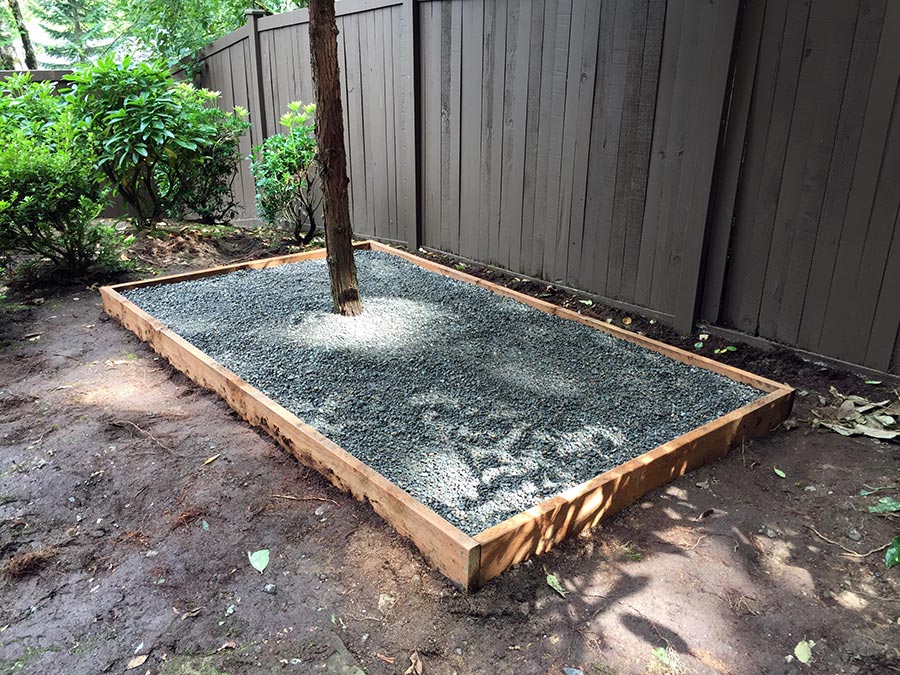
Here’s the finished project from the opposite side -
From start to finish this took about 5 hours on a Saturday. Once complete we decided to bring in some experts to help with revamping the rest of the landscaping in our yard.
The first thing they wanted to do was remove the box! Oh no, no no no - the box stays my friends. Not only does it stay, we want it to be the centerpiece of the yard.
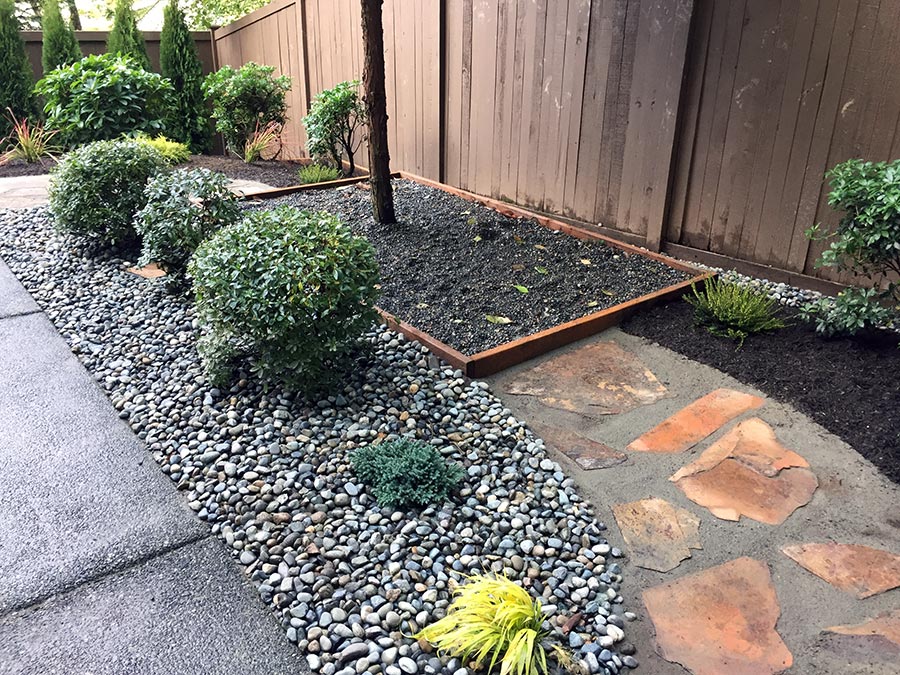
Final results
After some planning and several days of work by our amazing landscapers, the finished product blew away our expectations. We have a great oasis in the back yard and a primo dog box that both of our girls are enjoying. Of course, the humans benefit huge by having a confined place for cleanup. As an added bonus our sprinklers keep the area washed down.
The drainage is amazing - our Rhodesian had a habit of getting “wet feet” when she used her old dirt area. Now it vanishes without pooling. Huge difference and well worth the effort.
And that’s a wrap, thanks for reading!